How to: Remove an Internal Wall
Removing an internal wall can transform your living space, but proper planning and safety precautions are essential for success. This comprehensive guide walks you through the process of safely removing stud, solid, and supporting walls.
Essential Tools and Safety Equipment
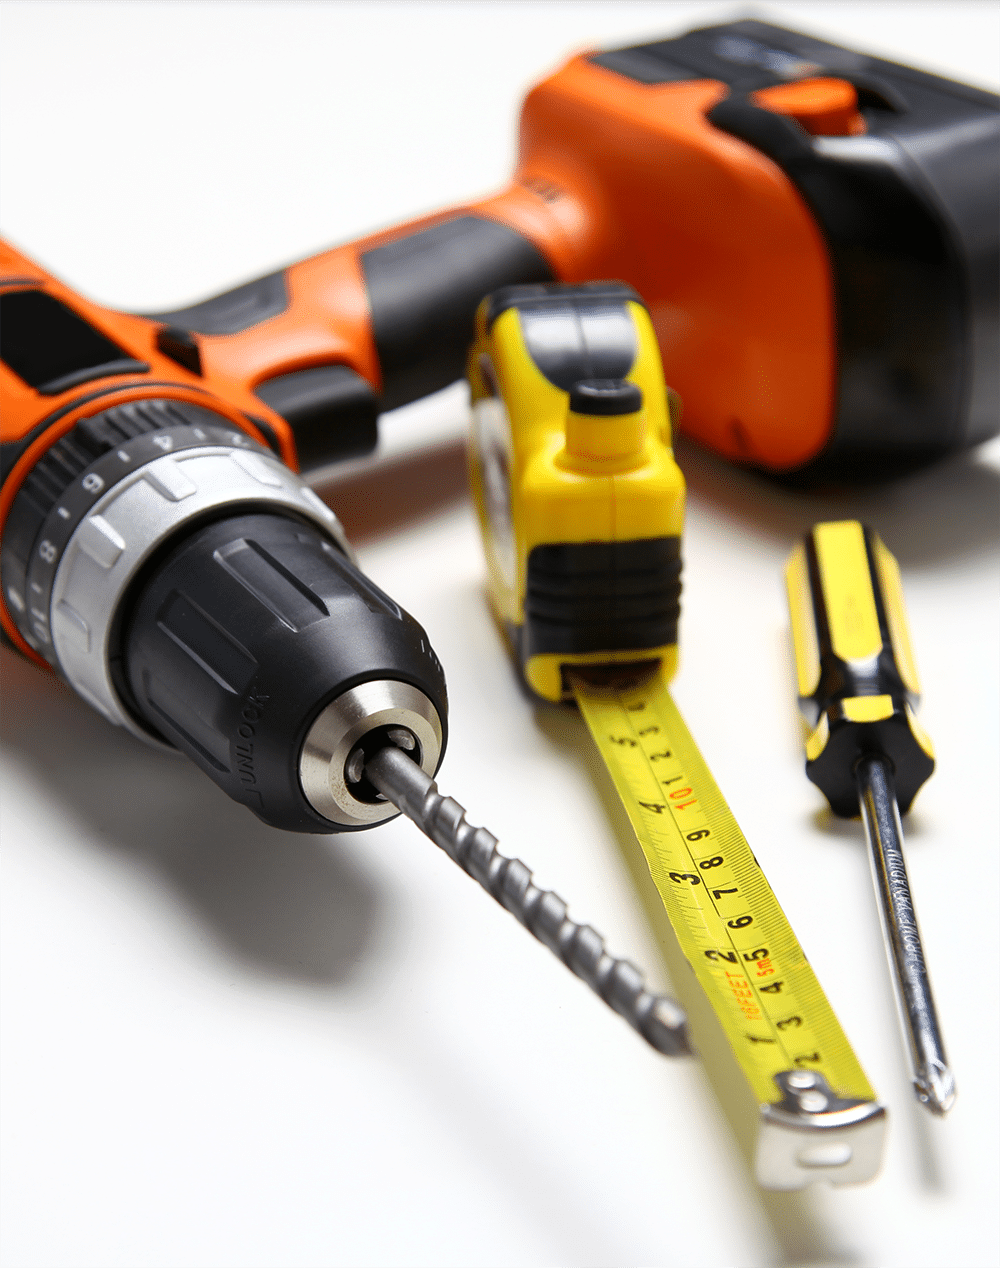
Tools Required:
- Reciprocating saw with demolition blades
- Sledgehammer (3-5 lb for stud walls, heavier for solid walls)
- Pry bar and crowbar
- Utility knife with sharp blades
- Screwdrivers (Phillips and flathead)
- Drill with various bits
- Stud finder
- Measuring tape
- Chalk line or pencil for marking
- Plastic sheeting and masking tape
- Heavy-duty bin bags or skip hire
Safety Equipment:
- Safety goggles or face shield
- Dust mask or respirator (N95 minimum)
- Work gloves with good grip
- Steel-toed safety boots
- Hard hat
- Knee pads
- First aid kit readily available
Step-by-Step Removal Guide
Preliminary Steps (All Wall Types)
Before removing any wall, complete these essential preparation steps:
- 1. Identify Wall Type and Services
Turn off electricity at the consumer unit and check for cables using a cable detector. Locate any plumbing pipes with a pipe detector, and if you suspect gas pipes, contact a Gas Safe registered engineer immediately. Use a stud finder to determine if you’re dealing with a timber stud wall, solid masonry wall, or potentially load-bearing structure. - 2. Prepare the Work Area Remove all furniture and belongings from the immediate area. Lay down protective sheeting to catch debris and dust. Seal doorways to other rooms with plastic sheeting to contain dust. Ensure adequate ventilation and lighting in the work area.
- 3. Remove Wall Fixtures Carefully remove any skirting boards, architraves, light switches, sockets, and shelving attached to the wall. Label and store screws and fixings for potential reuse. Take photos before removal to help with any restoration work.
Removing a Timber Stud Wall
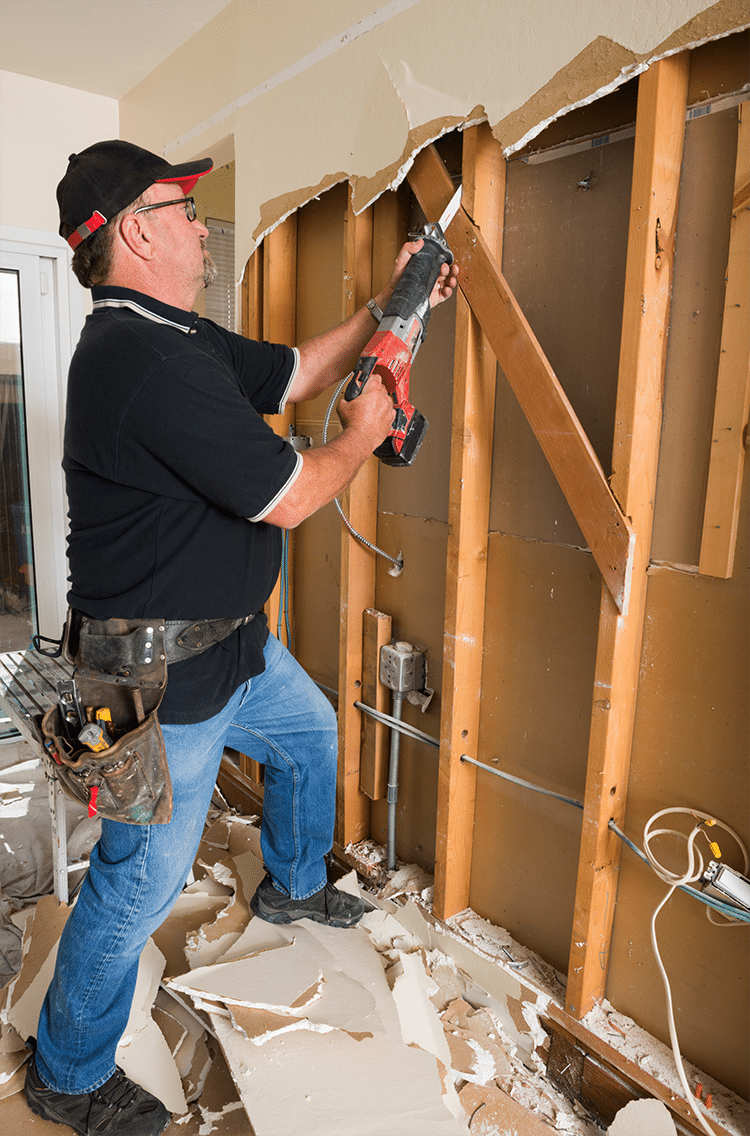
Timber stud walls are the most common internal walls in modern homes and typically the easiest to remove.
- 4. Score the Paint Line
Use a sharp utility knife to score along the junction where the wall meets the ceiling and adjacent walls. This prevents paint and plaster from tearing beyond the removal area. - 5. Remove Plasterboard
Start from the top of the wall and use a reciprocating saw to cut through the plasterboard between studs. Work systematically across the wall, removing large sections where possible. Be cautious of any cables or pipes that may be concealed within the wall cavity. - 6. Remove Timber Framework
Once plasterboard is removed, you’ll see the timber stud framework. Use a reciprocating saw to cut through the vertical studs, starting from the middle and working outward. Remove the horizontal plates (top and bottom rails) last, as these provide structural stability during the process. - 7. Clean Up Framework Fixings
Remove any remaining nails or screws from the ceiling and floor where the wall was attached. Fill holes with appropriate filler and sand smooth once dry.
Removing a Solid Wall
Solid walls made of brick, block, or concrete require more intensive removal methods.
- 8. Start from the Top
Begin removal from the top of the wall, working downward in manageable sections. This approach is safer and allows better control of falling debris. - 9. Create Relief Cuts
Use a reciprocating saw with a masonry blade to create vertical cuts in the wall, approximately every 18 inches. These relief cuts make the removal process more manageable and reduce the risk of damage to adjacent structures. - 10. Break Out Sections
Using a sledgehammer, carefully break out sections between your relief cuts. Work methodically and avoid using excessive force that could damage surrounding structures. Remove debris regularly to maintain a safe working environment. - 11. Address Mortar and Fixings
Clean away mortar remnants from adjacent walls and floors using a chisel and hammer. Remove any wall ties or fixings that connected the removed wall to the main structure.
Removing a Load-Bearing Wall
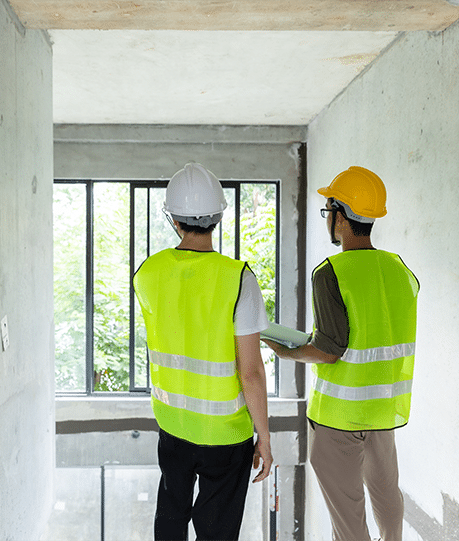
WARNING: Load-bearing wall removal requires professional structural assessment and is not recommended as a DIY project.
If you must proceed after obtaining proper structural engineering approval and building permits:
- 12. Install Temporary Support
Before removing any load-bearing wall, temporary support structures (such as adjustable steel props) must be installed according to structural engineer specifications. This step is absolutely critical and must not be skipped. - 13. Install Permanent Support
A structural beam (RSJ – Rolled Steel Joist) or equivalent must be installed to carry the load previously supported by the wall. This work typically requires professional installation and building control approval. - 14. Remove Wall in Sections
Only after permanent support is in place can the wall be removed, following similar methods to solid wall removal but with extreme caution around the support structures.
Final Steps and Cleanup
- 15. Repair Adjacent Surfaces
Fill any holes or damage to adjacent walls, ceiling, and floor surfaces. Apply primer and paint or wallpaper as needed to blend the area with existing décor. - 16. Address Floor Covering
You’ll likely need to patch or extend flooring where the wall was removed. Plan this carefully to achieve the best visual result, which may involve replacing flooring in the entire room. - 17. Dispose of Waste Responsibly
Arrange appropriate waste disposal through your local council or waste management company. Some materials may require special disposal methods, particularly if dealing with older properties that may contain asbestos.
Professional Considerations

While this guide provides comprehensive steps for wall removal, many situations require professional expertise. Consider hiring professionals when dealing with load-bearing walls, walls containing significant services, or in properties with historical significance. The cost of professional removal often balances against the risk of costly mistakes and potential safety hazards.
Remember that building regulations approval may be required for structural alterations, and failure to obtain proper approvals can affect property insurance and resale value. When in doubt, invest in professional consultation before beginning your project.
Home Renovation Inspiration
Celebrating and elevating home renovation across Gloucestershire and the Cotswolds. Share your stories with us to feature them here and on our Get Ready to Reno social.
Safety Disclaimer
IMPORTANT: We accept no liability for any damage, injury, or structural issues that may arise from following this guide. Wall removal can significantly affect your home’s structural integrity and safety systems.
Before beginning any wall removal project, you must:
- Consult a qualified structural engineer to assess load-bearing requirements
- Obtain necessary building permits and approvals from local authorities
- Have electrical, plumbing, and gas services professionally assessed and relocated if needed
- Ensure compliance with building codes and regulations
- Consider hiring professional contractors for complex removals
Proceed at your own risk and seek professional advice when in doubt.
Call us about home renovation
Tried and trusted for over 40 years. We’re your complete home renovation and partner.
- 01453 822 227 Gloucestershire
- 02920 707 707 Wales
- 0117 982 5558 Bristol

