How To: Sanding Floorboards
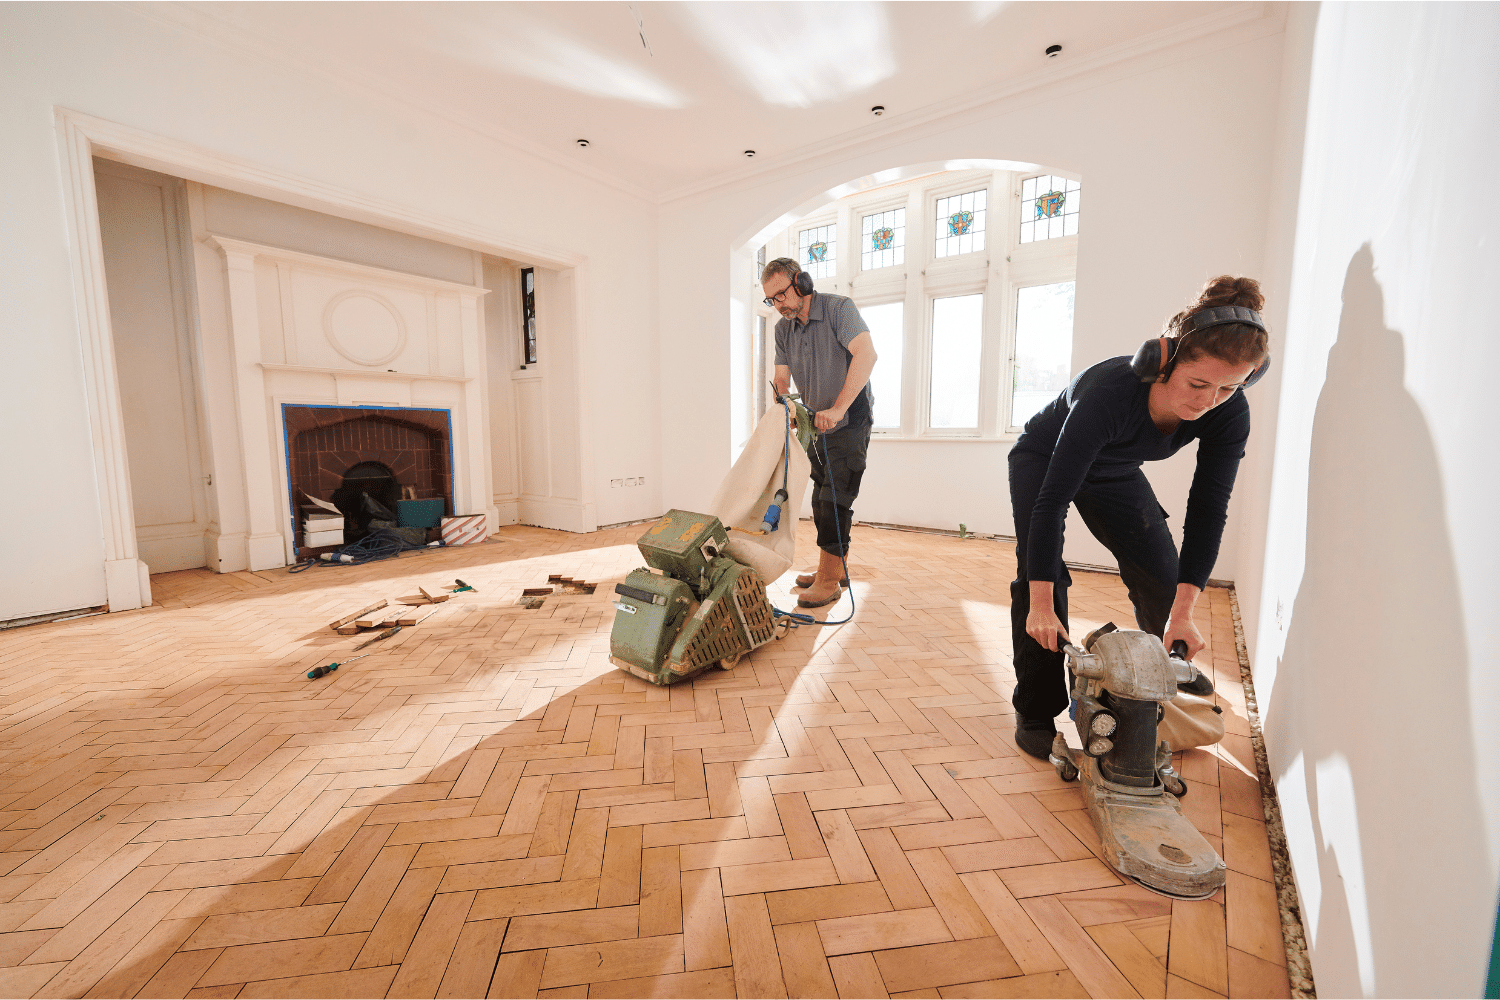
Sanding floorboards remains one of the most rewarding home improvement projects for UK renovators. By stripping away years of wear and staining, you can restore beautiful timber floors at a fraction of the cost of replacement — and the results can be stunning.
Preparation: Setting Yourself Up for Success
Before hiring equipment, clear your room completely. Walk the floor carefully with a nail punch and hammer, ensuring every nail sits at least flush with — or ideally a few millimetres below — the surface. Protruding nails will tear sanding sheets and could damage your hired equipment. Check for any loose boards and secure them. This groundwork is crucial and often separates successful projects from frustrating ones.
Seal doorways with plastic sheeting and tape to contain dust. While dust extraction on modern sanders helps enormously, fine particles still escape. Open windows for ventilation but keep internal doors firmly closed.

The Sanding Process
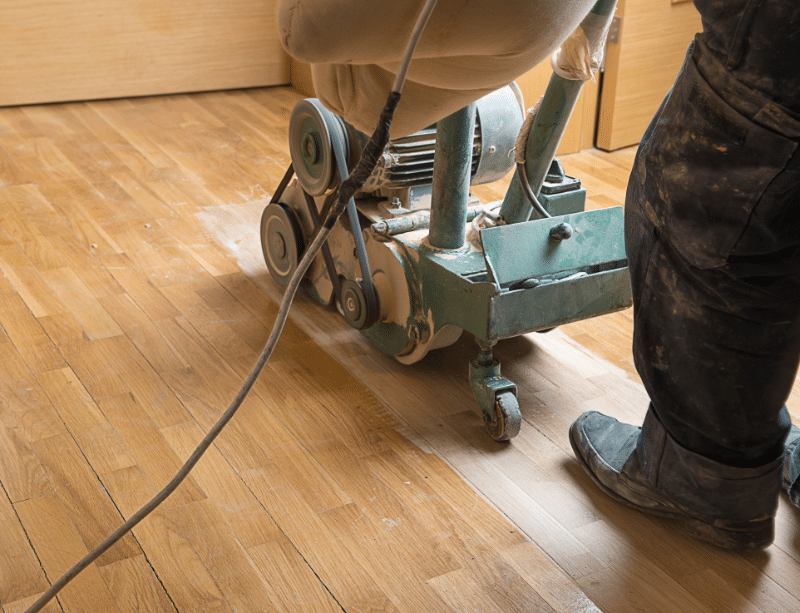
Hire a drum sander and edge sander from your local tool hire centre — budget around £100-£150 including sheets for a medium-sized room. You’ll need protective goggles, a dust mask, and ear defenders.
Start with coarse-grit sandpaper (16-24 grit) if removing heavy staining or levelling uneven boards. For floors in reasonable condition, begin with 40 grit. Sand diagonally first if boards are particularly uneven, then work with the grain in overlapping passes. Progress through increasingly finer grits — 40, 60, 80, 100, and finishing with 120 grit for a smooth surface.
Use the edge sander around the room’s perimeter, following the same grit progression. A small mouse sander proves invaluable for tight corners the larger machines can’t reach. Vacuum thoroughly between each grit change to monitor your progress and spot any remaining problem areas.
Sealing and Finishing
Once sanding is complete, vacuum meticulously and wipe down with a slightly damp cloth toremove all dust. Allow the floor to dry completely.
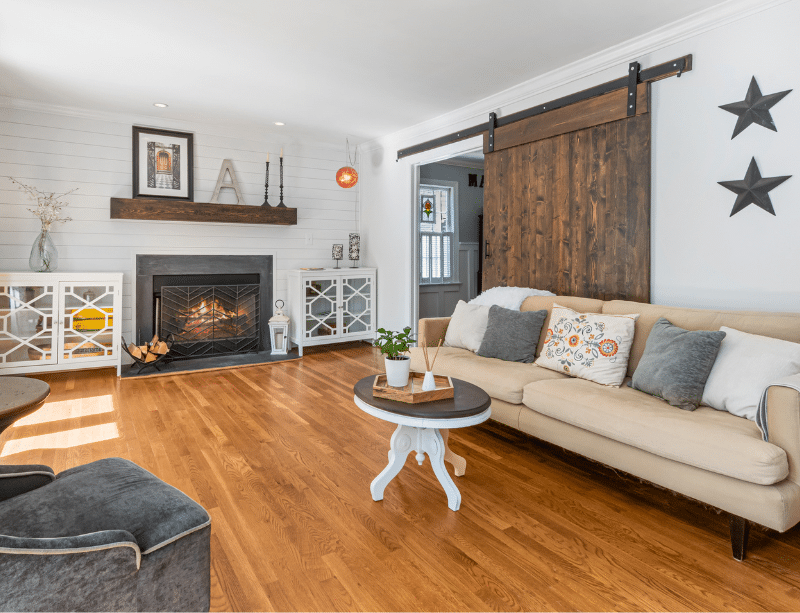
For finishing, hard wax oils like Osmo Polyx Oil offer excellent protection while allowing easy maintenance of high-traffic areas without complete re-sanding. Apply following the manufacturer’s instructions, typically two coats with light sanding between. For a contemporary look, consider Osmo’s white-tinted options to counteract yellow pine tones. Alternatively, varnishes provide maximum durability, though they require complete re-sanding when eventually worn.
Always test your chosen stain or finish on an inconspicuous area first to ensure you’re happy with the colour and sheen.
What About Engineered Wood Flooring?
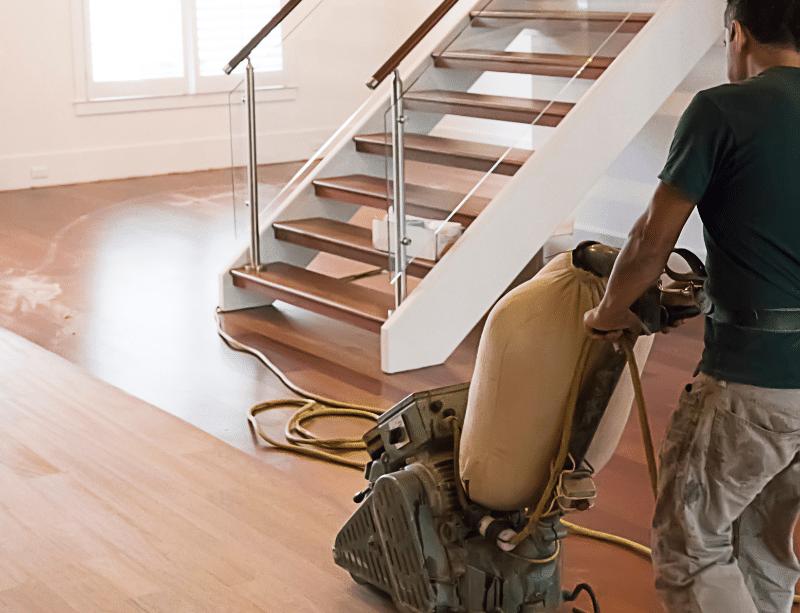
Engineered flooring can be sanded, but proceed with caution. Check your floor’s wear layer thickness—most engineered boards have a 3-6mm hardwood veneer. If it’s 4mm or thicker and hasn’t been previously sanded, careful sanding is usually safe. Thinner wear layers (under 3mm) or floors already sanded once should be left alone, as you risk sanding through to the plywood core.
Always test a small, hidden patch first. If you see substrate showing through quickly, stop immediately. Many engineered floors are designed for light refreshing rather than aggressive sanding.
Download Your Free ‘Get Ready to Reno’ Guide!
Home renovation know-how and inspo at your finger tips. Sign up to receive it.
“Fantastic service from the team! Nothing was too much trouble for them – the breaker I hired was in great condition and was just what I needed. Would not hesitate to recommend and will definitely use again!”
Jon H, Domestic customerCall us about home renovation
Tried and trusted for over 40 years. We’re your complete home renovation and partner.
- 01453 822 227 Gloucestershire
- 02920 707 707 Wales
- 0117 982 5558 Bristol


